Lined Tab Curtains
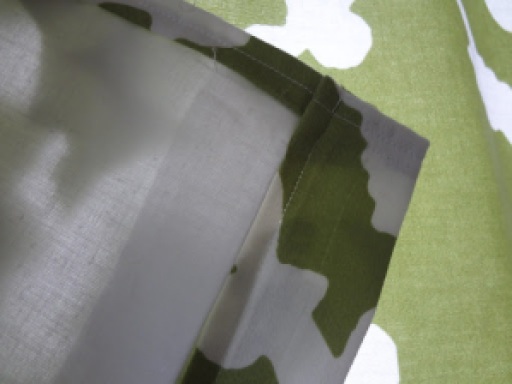
Continuing the first floor redecorate project (I’m so close, before and after pics of the new colors are coming shortly. I just need to clean before I document), I made some new curtains for the small window in our living room. I made several of these last year and they all turned out fabulously. These ones not so much. I used a shower curtain as my fabric which caused me a couple issues. First, because of some bad math, I didn’t realize until it was too late that my shower curtain was not quite wide enough to make two curtains out of it. So I ended up ripping all hems out of the shower curtain to give me an extra inch of fabric, which was no fun at all. Then I fudged some of my hems so it worked, but it’s not what I would recommend. Also, I am used to working with cotton quilting fabric and this was some sort of blend that has more stretch. This caused weird bunching at the bottom of the curtain once it was hung because the lining fabric didn’t stretch with the front. (you can kinda see it in the pic above). I had to punt and make some modifications after they were finished, which were not ideal. This tutorial will cover the my normal method which is usually great. I’ll add notes at the end for what I would have done differently if I’d known about my fabric stretch problem ahead of time.
This is the first sewing project I ever attempted. (Not these exact curtains, the ones I made last summer that no longer match the living room.) I didn’t have a pattern, just existing curtains I had purchased at Target that I used as a guide. Everything is done in a straight stitch because that is the only one I know how to use. There could be an easier or better way to do this. If so, please let me know.
Lined Tab Curtains

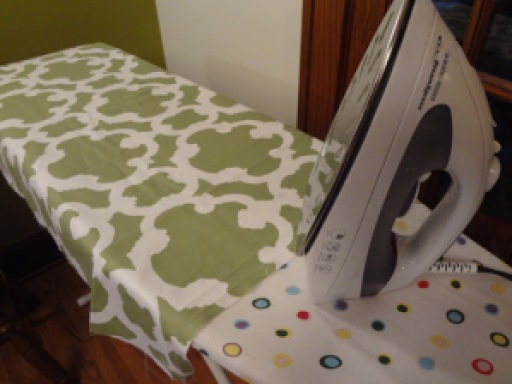
Then iron the fabric. It is so much easier to work with when it isn’t all wrinkled. Also, don’t store your left over fabric bunched up in a ball. It makes it difficult to iron when you decide to use it later. Lesson learned.
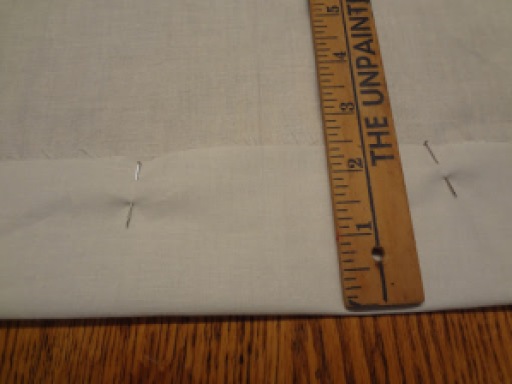
Next, hem the top of both pieces of fabric. To do this, fold the top edge down 2 1/2 inches. Pin in place, press to get a straight crease, then do a straight stitch about 2 inches in from the top. Repeat on the lining fabric.


Next, line up the two pieces of fabric, wrong side together (right sides out?) so that the top edges line up. The sides should be centered so there is one inch on of the main fabric on each side of the lining fabric. There should be 2 inches of main fabric overhang on the bottom edge.
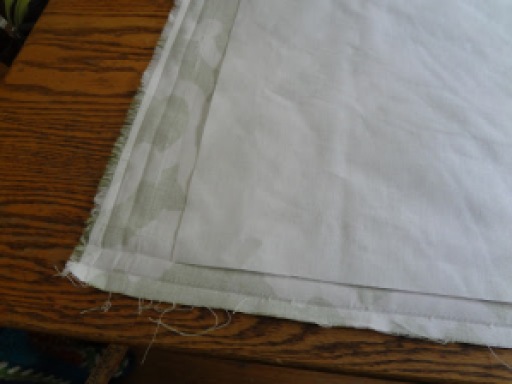

The next step is to sew the bottom hem. Just like on the side hems, fold up a half inch, pin and press, the fold again for the hem, only this time fold up an inch and a half. Pin, press, and sew, making sure to backstitch at the beginning and end. When finished with this step, the curtain is like an envelope, open on the top.
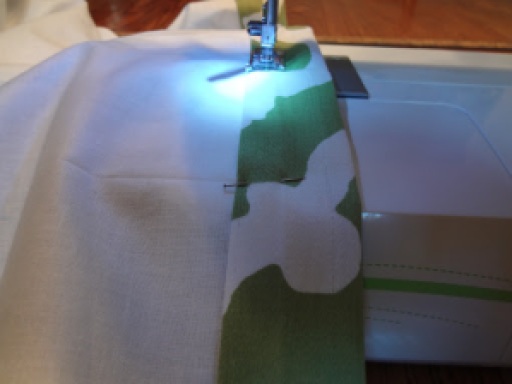

Now the main part of the curtain is done. All that is left making tabs, inserting them in the top of the curtain and sewing it shut along the top. Easier said than done, the tab making is the most irritating part of the whole process.
First is measuring the fabric for tabs. Each of my curtains has 5 tabs, that are 2 inches wide and 3 inches long (6 inches folded in half) after folding over. So the fabric for each tab is 3 x 8 inches, allowing for a half inch hem on each edge and one inch to be tucked into the curtain. Once you have cut out your tabs, fold the long side 1/2 inch on both sides of each tab. Pin, press and sew.

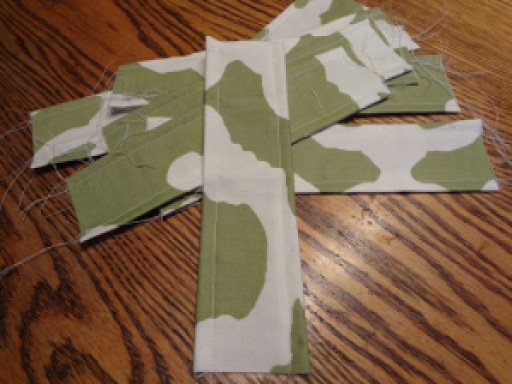
Now that the tabs are done, fold in half and insert the loose edge into the top of the curtain “envelope” between the front and lining fabric. There should be one inch inside the curtain and 3 inches above. Place on tab at each edge and space the others evenly across the top of the curtain. Pin into place.

Now all that is left is securing the tabs by sewing across the top of the curtain. I try to sew 1/4 inch from the top, once again lining the edge of the fabric up with the edge of the foot.
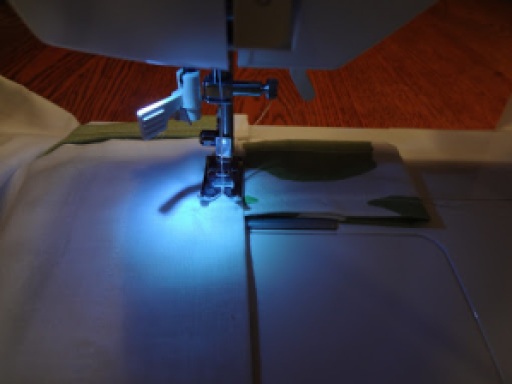
And that’s it. Curtain is done. Just trim any extra strings and iron them again for good measure.

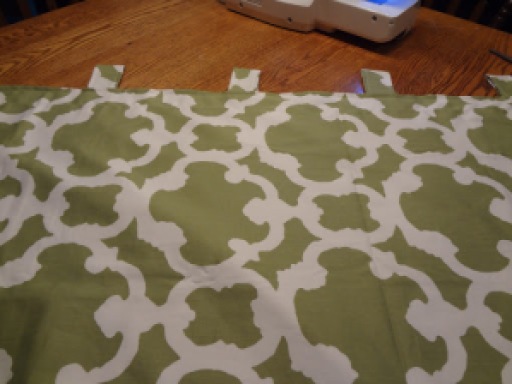
So here they are on the window.

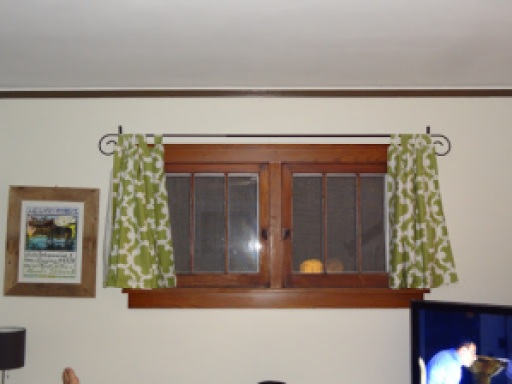


Now for the punting. It’s not easy to see, but in the closed curtain picture, there is a weird bunching along the bottom hem. At first I thought I just didn’t have the the fabric lined up right when I did the bottom hem, so I pulled it, ironed, made sure everything was smooth and hemmed it again. I got the exact same result. I finally decided that the problem is that the fabric has a little stretch and the lining fabric does not the stretched fabric was bunching up long the bottom hem because that’s where it was connected to the lining and couldn’t stretch any more.
